User Management
Find active Users, add new Users, and edit Users inside Lexul Field Service.
Control user access by assigning different permission levels. Users only have access to the features and tasks allowed by their permissions.
View Users
- Open the Menu.
- Select Users.
- View the full list of Lexul Field Service users.
Adding Users
Only Office Admin users can add users and edit user permissions or active/inactive status.
- Open the Menu.
- Select Users.
- Select the Action button in the bottom-right corner.
- Complete all required fields.
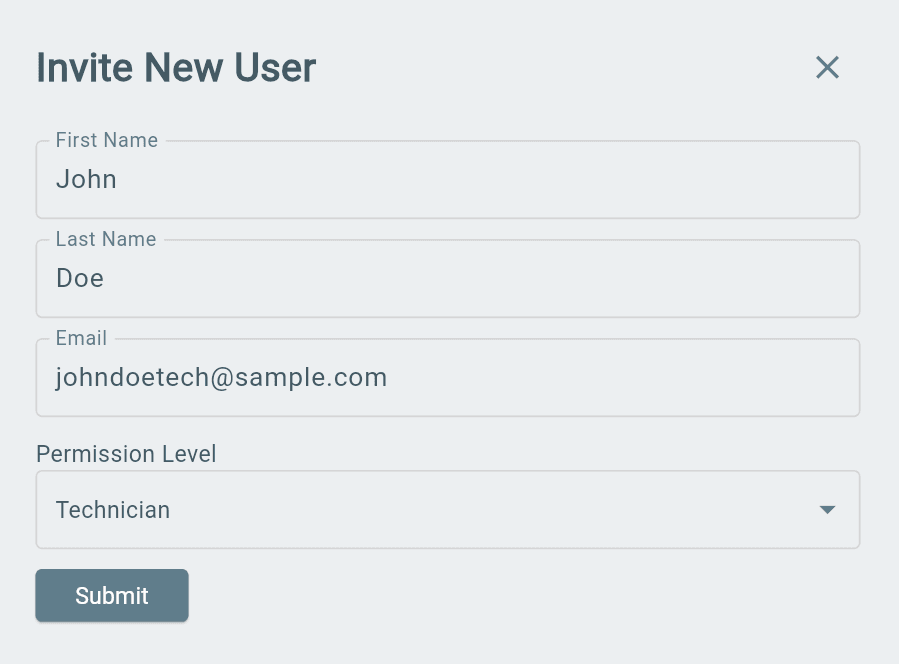
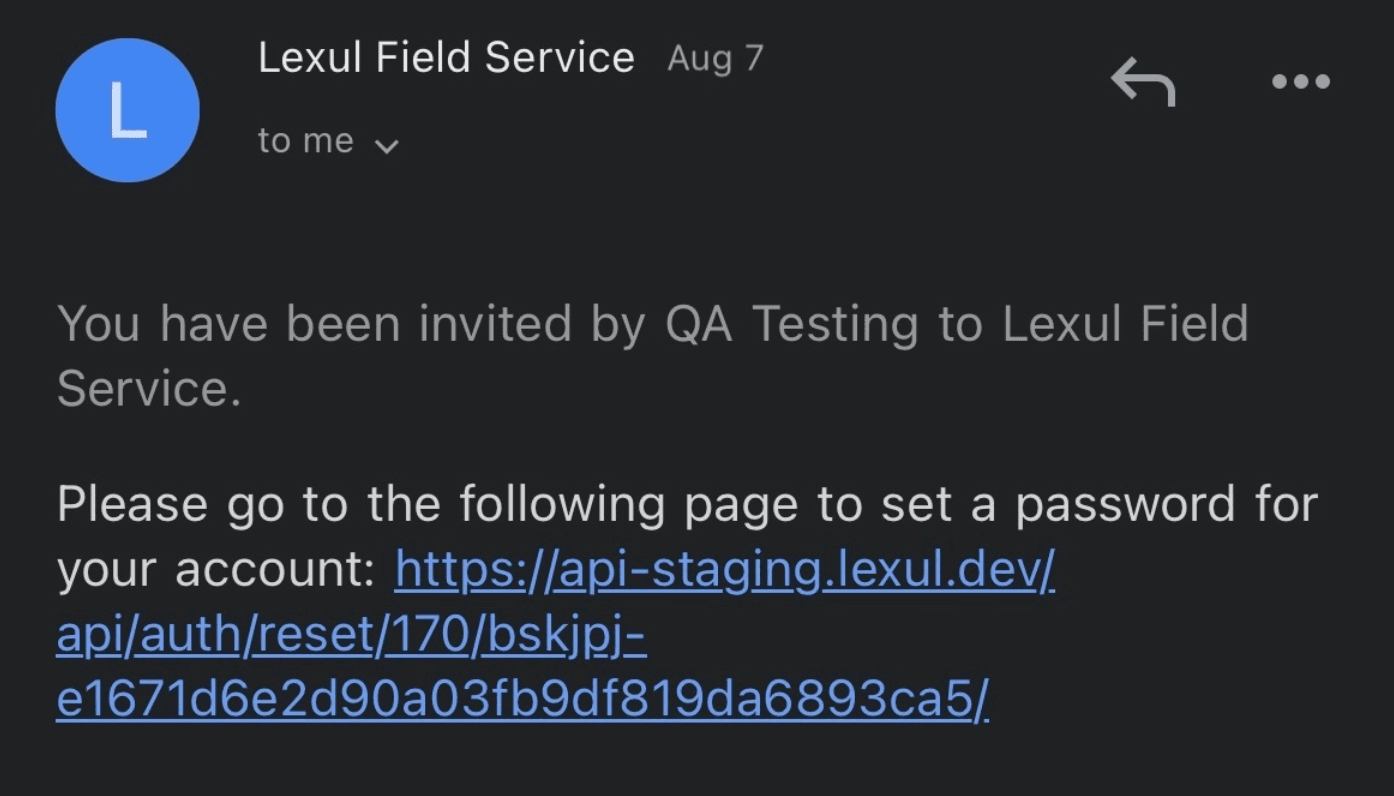
After being added, the user receives an invite email with a password setup link.
- The user creates a password.
- Download the Lexul Field Service app from the App Store or Play Store.
- Log in and begin using the app.
Note: If a user forgets their password:
- Go to the sign-in page.
- Select Forgot Password.
- Follow the reset instructions.
Editing a User
- Open Users.
- Select the user you want to edit.
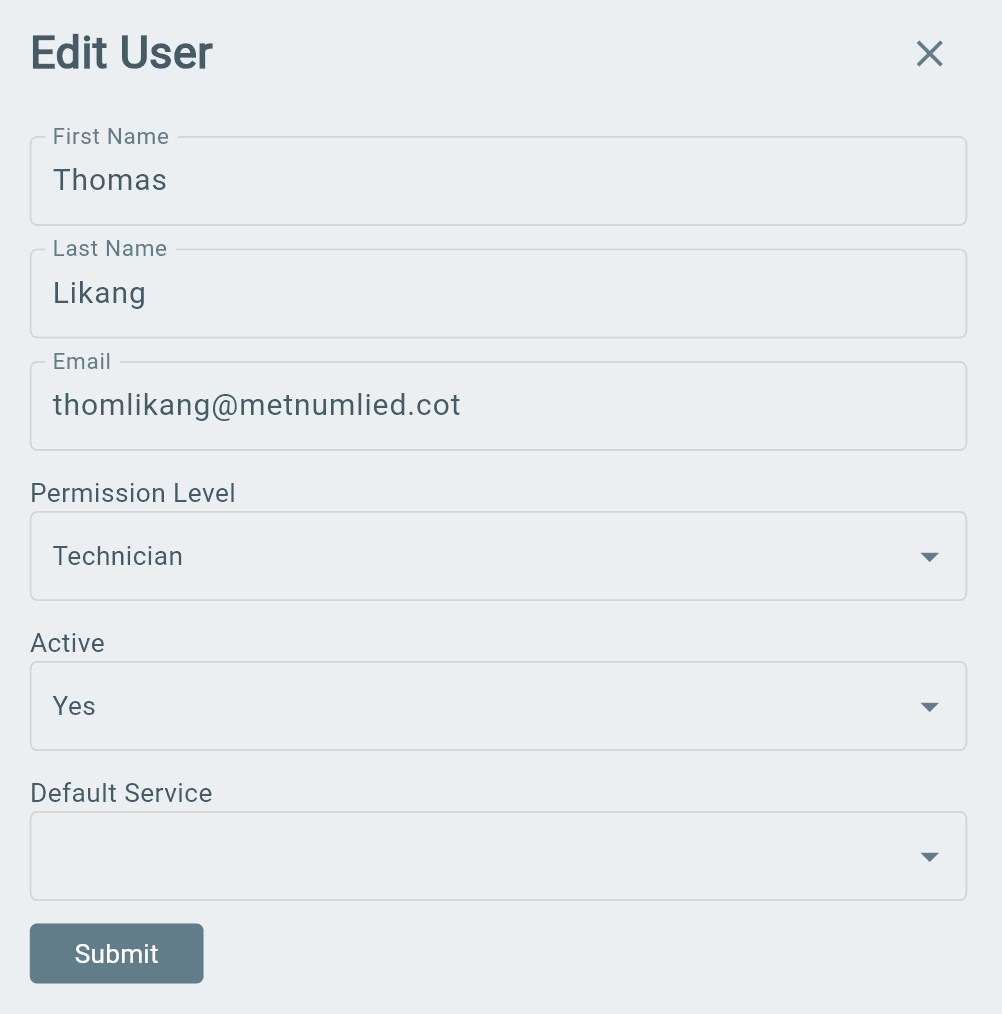
- Select the Pencil Edit icon in the top-right corner.
- Update the needed fields:
- Permission Level
- Active Status
- Default Service
Note: User email addresses cannot be edited. Verify the email is correct when creating a user.
If an email needs to be changed:
- Contact support@lexul.com to keep the same user.
- Or inactivate the old user and create a new user with the updated email.
(Only applies to workspaces not integrated with QuickBooks.)
Adding Users with QuickBooks
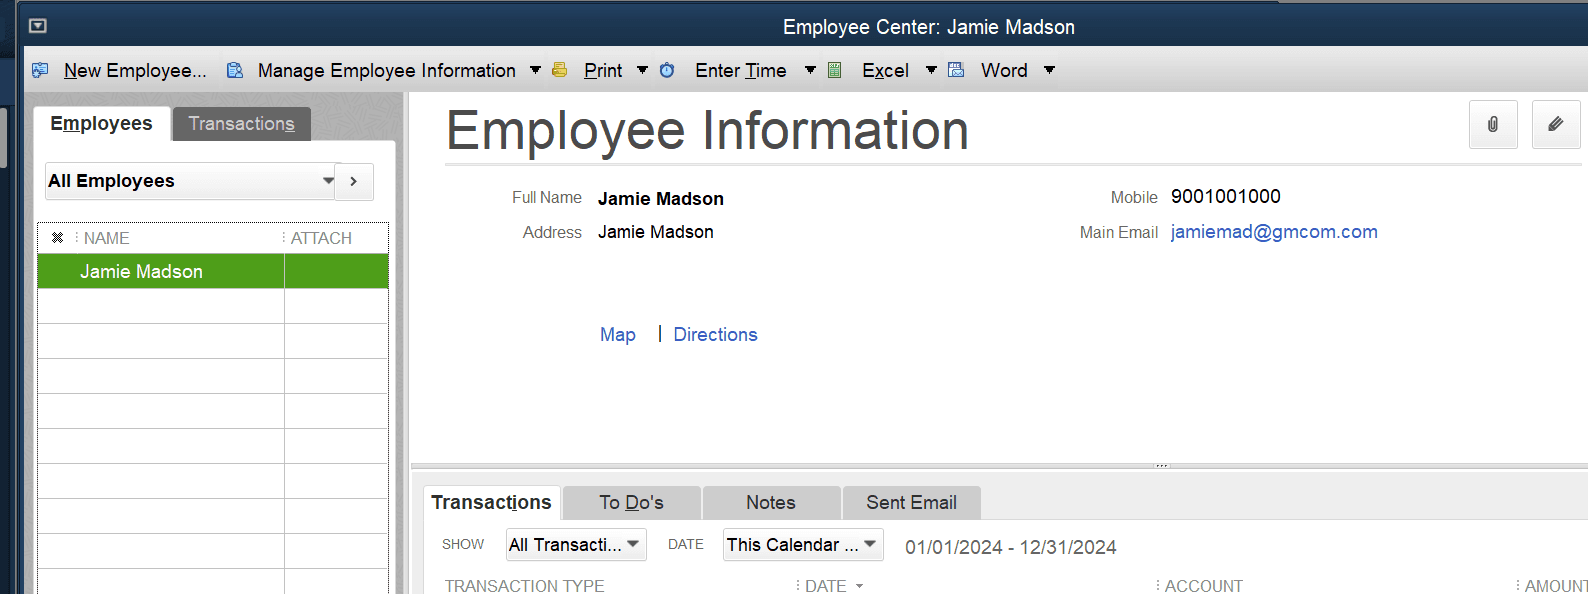
QuickBooks Desktop employees sync to Lexul as inactive users, allowing you to choose which employees should have Lexul access.
Add an Employee in QuickBooks Desktop
- Open Employees.
- Select Add New Employee.
- Enter the employee’s Name and Email (required).
- Sync through the Web Connector.
Manage Employee Access
- To give an employee Lexul access, activate them in Lexul.
- To remove access, mark the employee as Inactive in QuickBooks Desktop and sync.
Note: Do not change employee email addresses in QuickBooks Desktop after syncing. If an email needs to change:
- Inactivate the old employee in QuickBooks.
- Create a new employee with the updated email.
Adding Users with QuickBooks Online
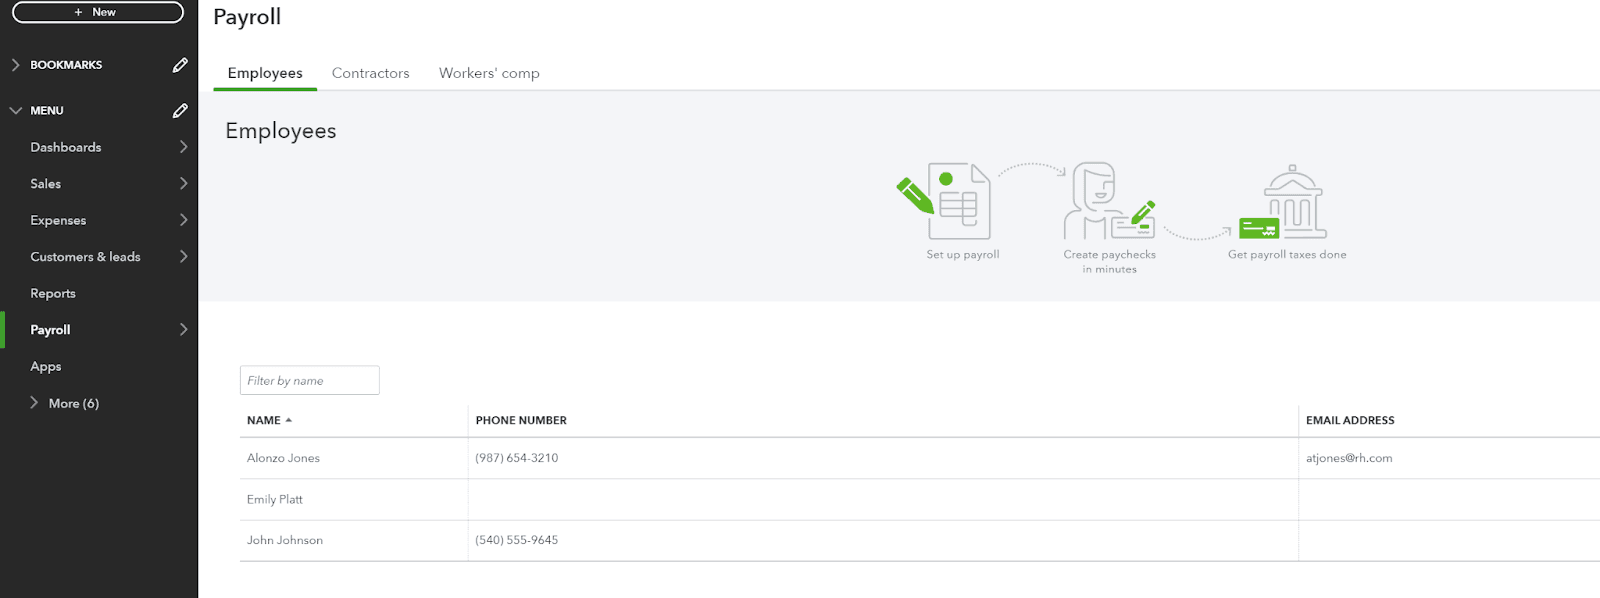
QuickBooks Online employees sync to Lexul Field Service as inactive users, allowing you to choose who receives Lexul access.
Add an Employee in QuickBooks Online
- Open Payroll from the Menu.
- Select Employees.
- Select Add an Employee.
- Enter the employee’s Name and Email (required).
- Sync to Lexul Field Service.
Manage Employee Access
- Activate users in Lexul when they need access.
- To remove access, mark the employee as Inactive in QuickBooks Online.
Note: Do not change employee email addresses in QuickBooks Online after syncing. If an email needs to change:
- Inactivate the old employee in QuickBooks.
- Create a new employee with the updated email.
For more info see: User Level Permissions Article
To elevate a permission level, please contact support.
If not using QuickBooks, simply inactivate the user. To completely remove Users from the Workspace, please contact Support. (support@lexul.com)
QuickBooks User Sync Functions (Active/Inactive)
QuickBooks Online Users
- New employees added in QuickBooks Online automatically sync to Lexul as inactive users.
- A Lexul admin must change their status to Active before they can log in.
- If an employee is marked Inactive in QuickBooks Online, they will also become inactive in Lexul.
- If reactivated in QuickBooks Online, they must also be manually reactivated in Lexul.
QuickBooks Desktop Users
- New employees added in QuickBooks Desktop and synced will be created in Lexul as inactive users.
- A Lexul admin must change their status to Active before they can log in.
- If an employee is marked Inactive in QuickBooks Desktop, they will also become inactive in Lexul.
- If reactivated in QuickBooks Desktop, they must also be manually reactivated in Lexul.
Where Users Are Shown
- Kanban, Table, Calendar and Map dashboards.
- Work orders, work order cards
- Quickview work order pop ups
- Map work order pop ups
- Timesheets, Timesheet Exports
- Work order PDF Export
Additional Info
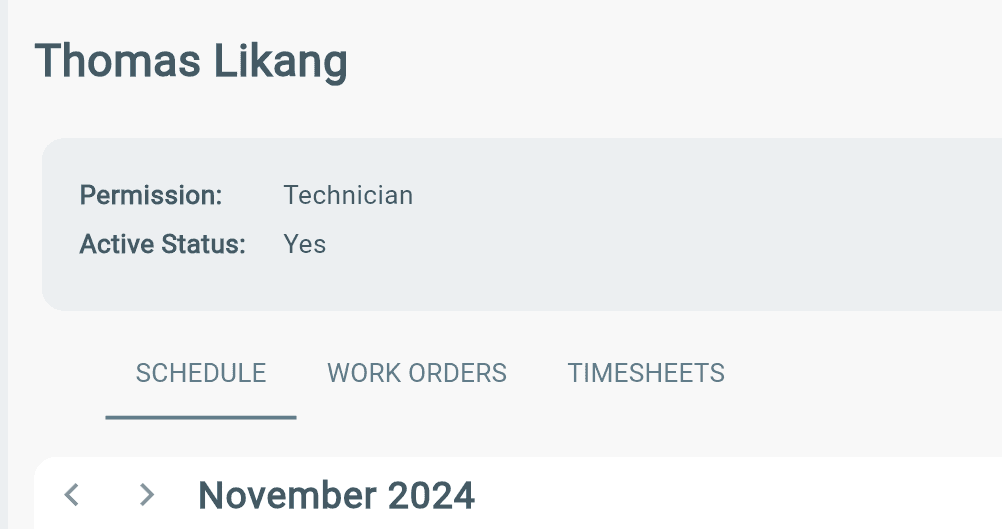
Under each user profile, you can view their SCHEDULE, WORK ORDERS that are assigned to the user, and view their TIMESHEETS of all tracked time in the app. From the user's Timesheet page, you may add shift times and work times for that user.