Contracts: Duplicate Work Orders
Overview
Duplicate work orders make repetitive jobs easier to manage.
→ Clone part of a work order or the entire work order.
→ Select what information is copied using the work order template.
Find Contracts
To access Contracts:
1. Open the menu.
2. Select Contracts under Customers.
The Contracts page includes:
→ Active Contracts
→ Inactive Contracts
→ All Contracts (Active + Inactive)
Use the filter buttons to quickly switch between lists.
Search Contracts
Use the search bar to find:
→ Contract Name.
→ Customer assigned to the Contract.
Search results are based on the information shown in the Contracts table.
Before Creating a Contract
Before you create a contract, you will need to have the following information prepared.
- Scope of work details for the Work Orders
- Letter of Authorization (if any) (Link to the Customer)
- Initial status of the Work Order when created
- Pre-Service Inspection List (Overview | Guide)
- Required Parts & Services have been created (Guide)
- Post Service Inspection Questions have been reviewed (Overview | Guide)
It is generally a good idea to spend the time to review the above information before creating a large number of work orders with the contract automation as changes to this information will have to be made manually on each work order.
How to Create a New Contract
1. Create the Contract
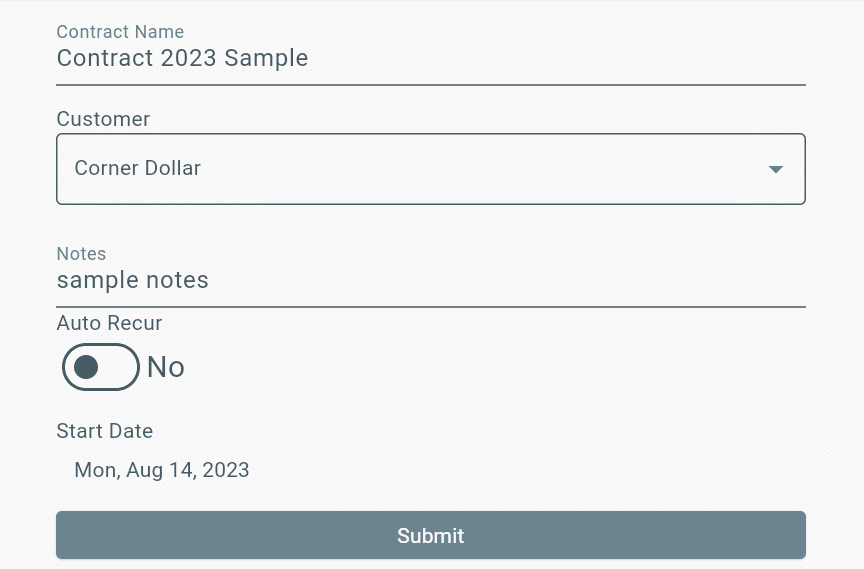
Find “Contracts” in the menu > Hit the action button in the bottom right corner > Fill out needed fields, and hit submit.
To add a new Contract, go to “Contracts” in the menu. Begin by hitting the blue action button in the bottom right corner of the page. Add the name of your Contract, then choose which Customer the contract is for; add notes if needed, select if you want this Contract to have Auto Recur, and choose the start date for Auto Recurring work orders. Then hit submit.
2. Create the Work Order Template
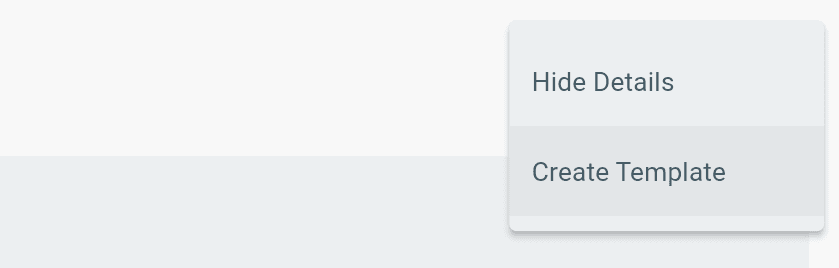
Select the newly created Contract, then within the Contract, select the “Create Template” button in the upper right corner.
3. Adding Details to the Contract Template
Select the needed options from the dropdowns, then select Create New Work Order Template.
⚠️ Note: Template selections cannot be changed after creation.
Choose:
→ Site Survey (optional)
→ Status (required)
→ Pre-Service Inspection List (optional)
→ Letter of Authorization (optional)
→ Technicians (optional)
Add Details After Creating the Template
Once created, add additional work order details:
Administration Tab
Add:
→ Due Date.
→ NTE (Not To Exceed), if needed.
→ Duration (expected labor time).
Arrival Tab
Add:
→ Customer Request.
Scope of Work
For detailed work orders:
→ Add Parts and Services.
→ Add quantities.
→ Add notes or instructions for technicians.
Added Parts and Services will automatically populate the Service tab.
Inspection Information
→ Pre-Service questions come from the selected inspection list in the template.
→ Post-Service questions come from inspections assigned to the Services added to the work order.
Important Note
Before adding Contract Assets:
→ Review all Contract and Template information carefully.
→ Changes made to the Template only apply to newly created work orders from Contract Assets.
Clone a Contract Template
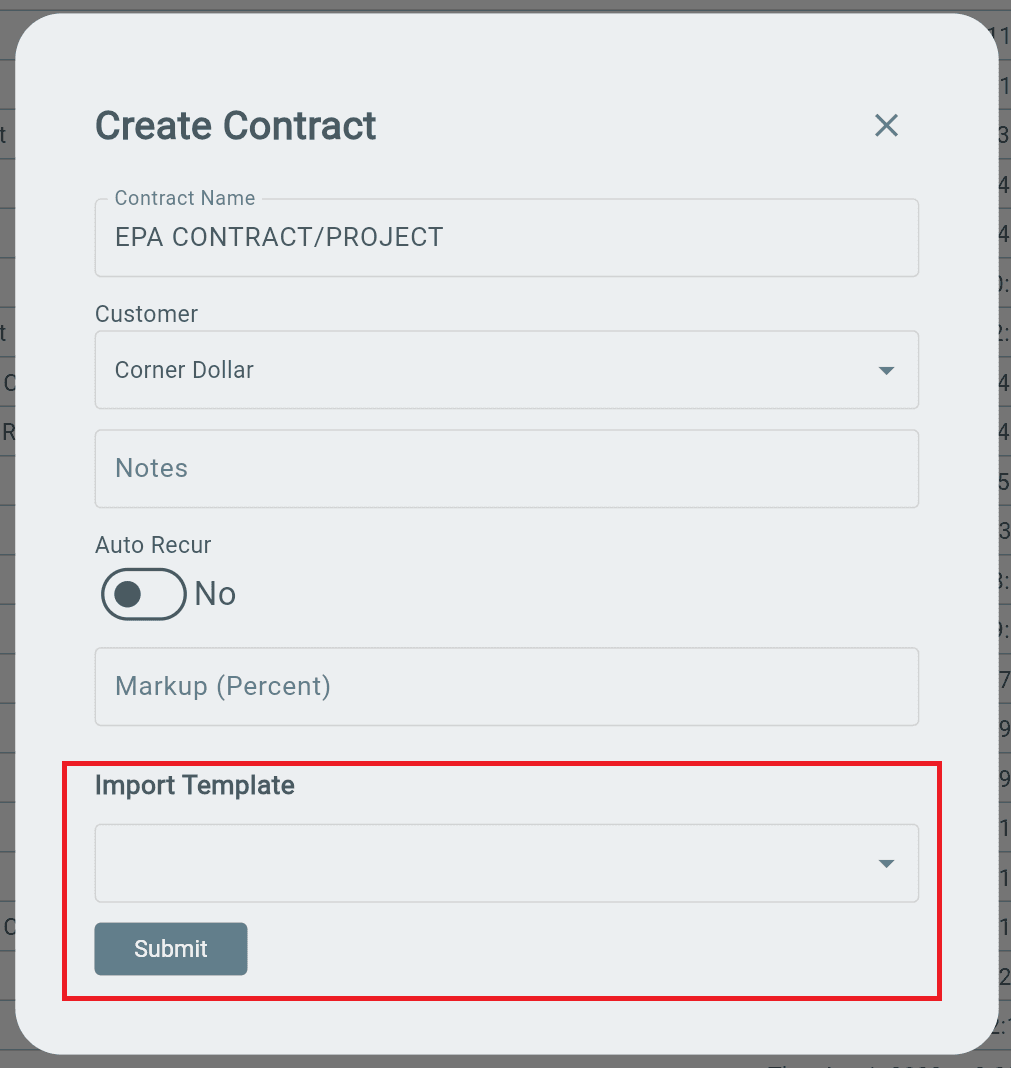
1. Go to Contracts.
2. Select Create Contract.
3. Find Import Template.
4. Select a previously created Contract Template.
5. Apply the template to the new Contract.
4. Add any Documents to the Contract
Documents can be added when viewing the Contract (not from within the template. See the full guide here. Be mindful of the permission level selected when adding documents.
Adding Contract Assets
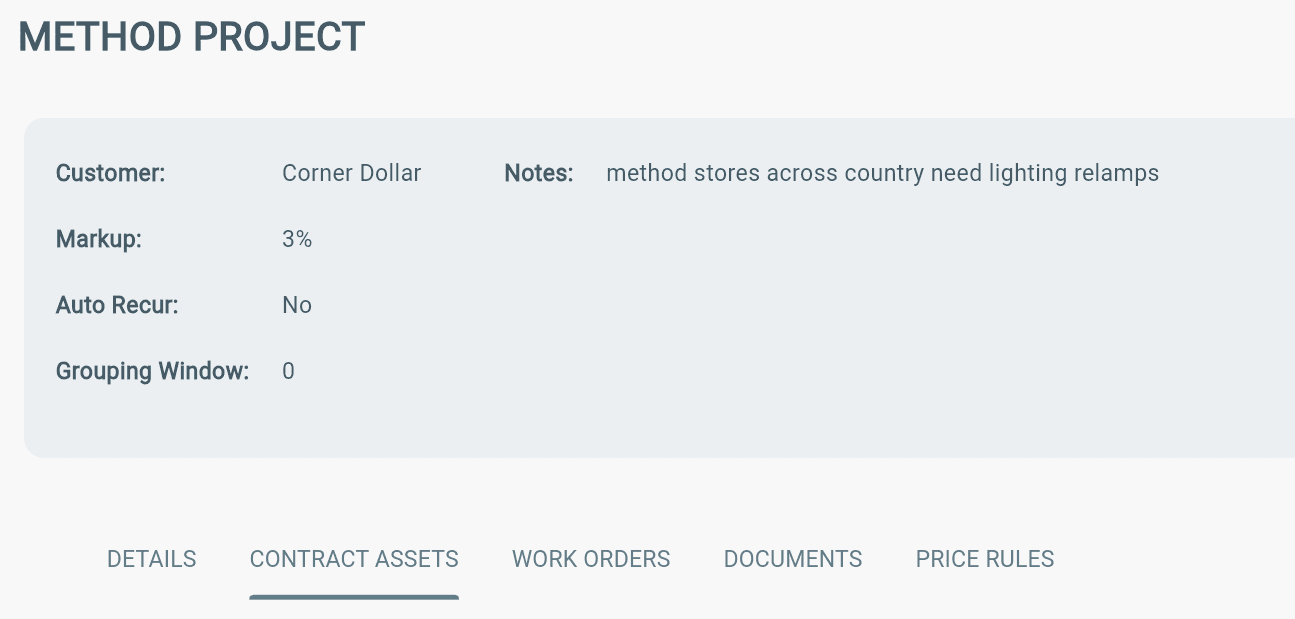
1. Open the correct Contract page.
2. Select the Contract Assets tab.
3. Click the blue Action (+) button in the bottom-right corner.
→ Add the required Contract Assets to create work orders from the Contract.
Add Contract Assets
After selecting the blue Action (+) button:
Choose how to add Contract Assets:
→ Asset List
Select existing Assets already added to the Customer in Lexul Field Service.
→ CSV File
Upload a CSV file to add multiple Contract Assets at once.
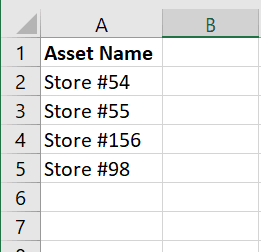
If adding Contract Assets from a CSV file, they must match with Assets under the respective Customer already in LFS. Be sure the Asset Name is an exact match to the Asset in LFS, otherwise it will not sync. The CSV only needs one column with the Asset name, once synced it will auto fill the rest of the Asset details. Create a CSV with a heading of “Asset Name” and then one asset name per row like this:
After adding the CSV file, you can download the results of the import.
It is important to DOWNLOAD RESULTS and review to ensure all assets were successfully matched.
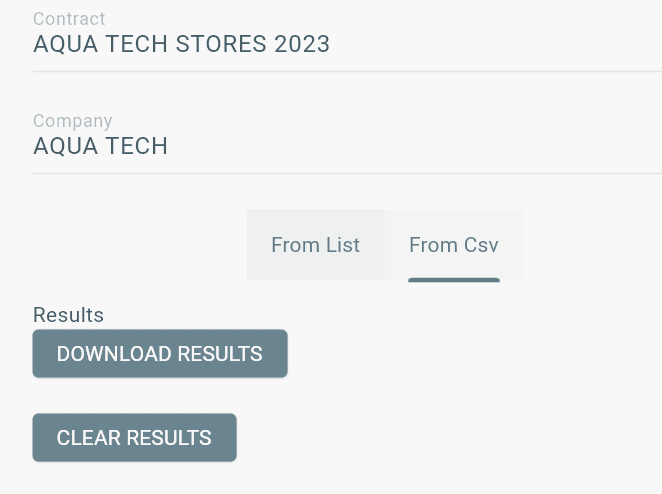
If you upload the Asset CSV file twice, the work orders will be duplicated.
Contract Work Orders
After adding Contract Assets:
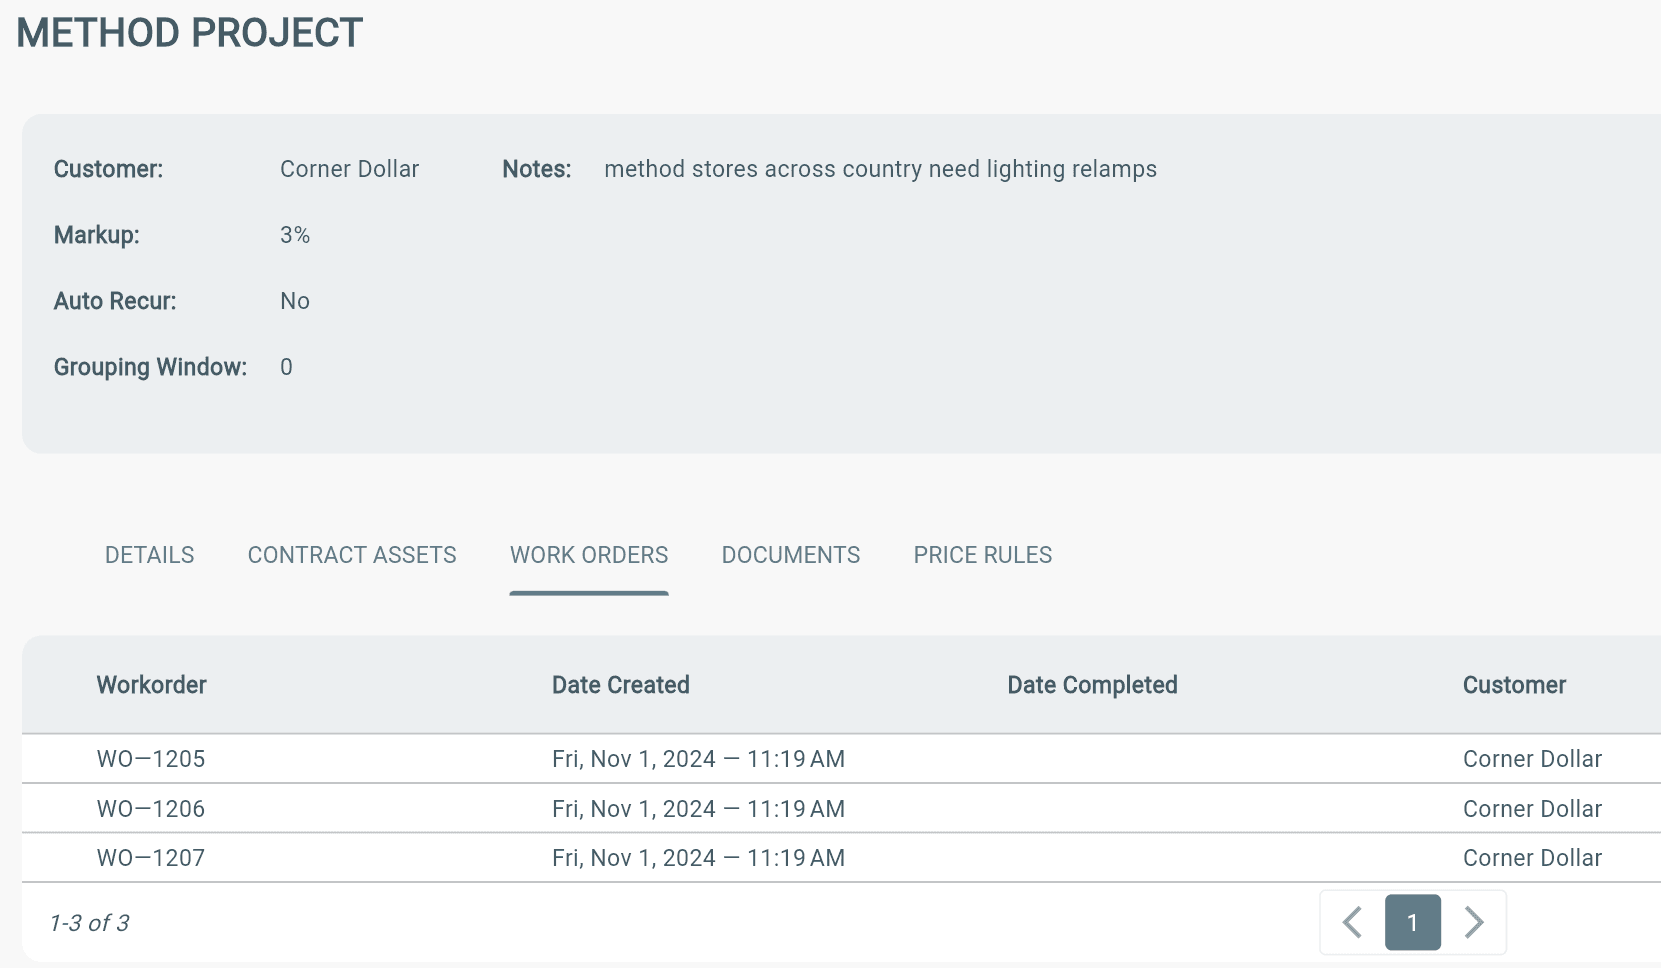
→ A work order will be created for each Asset added from the Asset List or CSV upload.
→ View all created work orders in the WORK ORDERS tab on the selected Contract page.
Edit a Contract
1. Open the Contract page.
2. Select the Edit icon in the top-right corner of the Contract header.
3. Make changes and save.
→ Contract edits will update existing work orders on that Contract.
→ Changes made to a Contract Template only apply to newly created work orders.