Office
Receipt Management
How to view, add, edit, download and more with receipts.
Use Receipts to add, view, approve, review, edit, and download receipts as a PDF or .xlsx file.
View Receipts
Option 1
- Open the Menu.
- Select Receipts.
Option 2
- Open a Work Order.
- Go to the Service tab.
- Scroll to the Receipts section.
Add a Receipt
Option 1
- Open the Menu.
- Select Receipts.
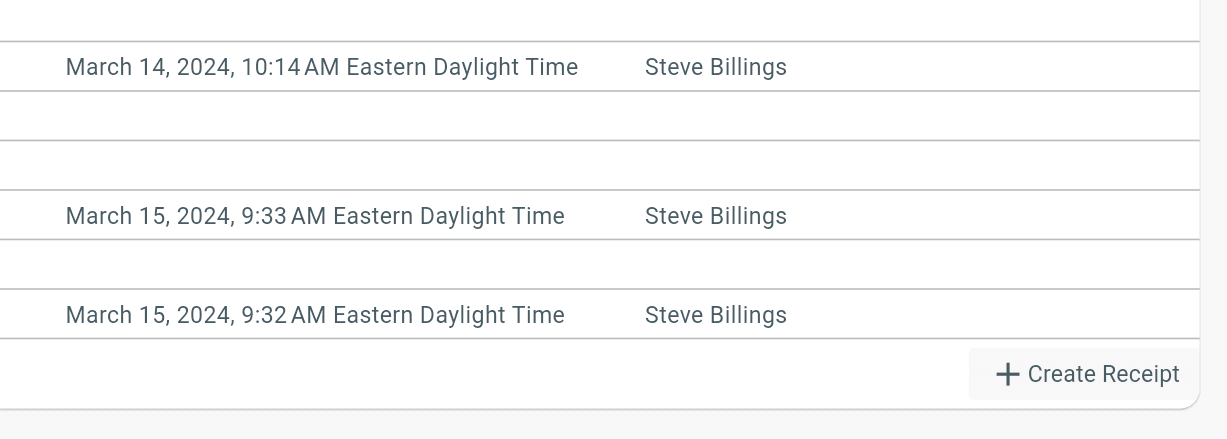
- Click Create Receipt.
Option 2
- Open a Work Order.
- Go to the Service tab.
- Scroll to the Receipts section.
- Click Create Receipt.
Editing & Reviewing Receipts
Option 1
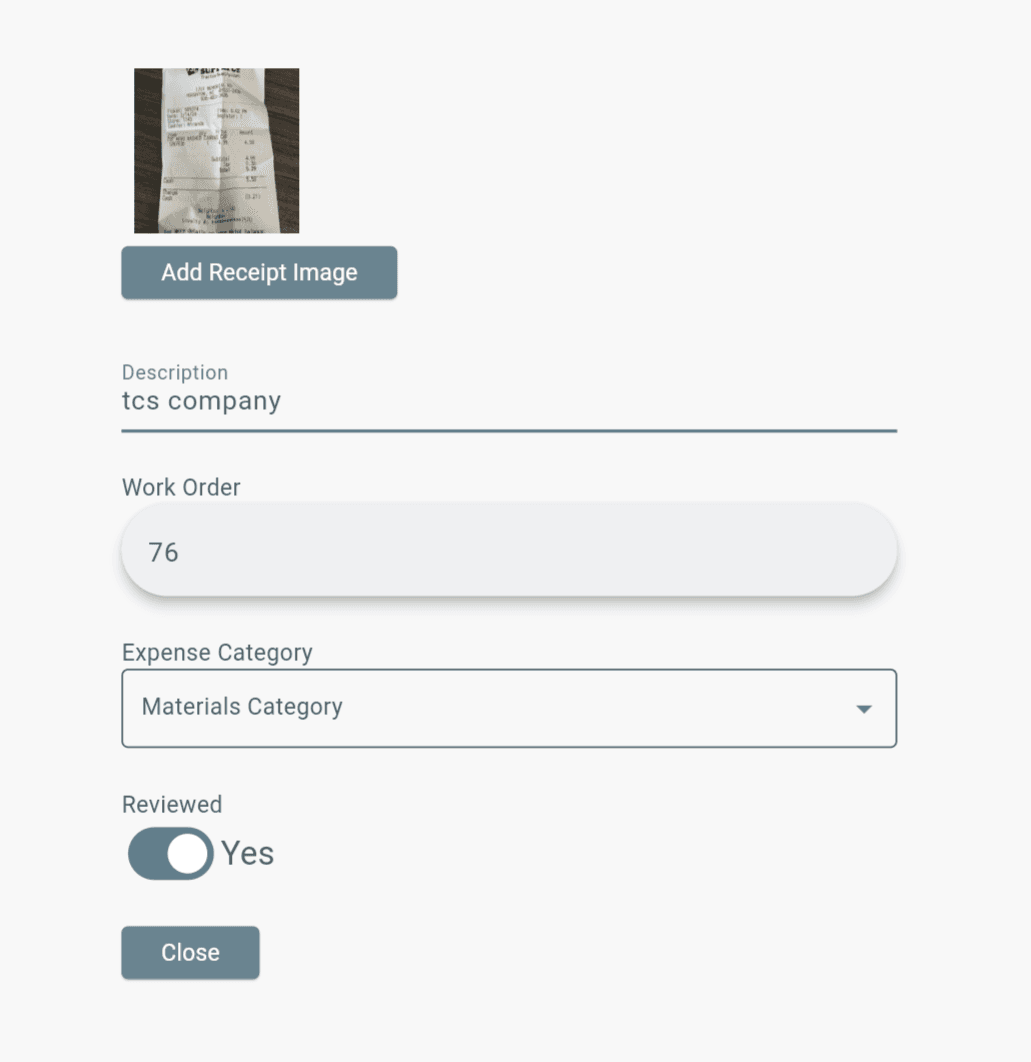
- Open Receipts.
- Select a receipt.
- Review or make changes.
- Select Close to save.
- To delete a receipt, select the image and click the Trash icon.
- To download a receipt, select the image and click the Download icon.
Option 2
- Open the Work Order.
- Go to the Service tab.
- Scroll to the Receipts section.
- Select the receipt to review or edit.
The download and delete icons only apply to the single receipt image you are viewing.
Filtering Receipts
- Open the Receipts table.
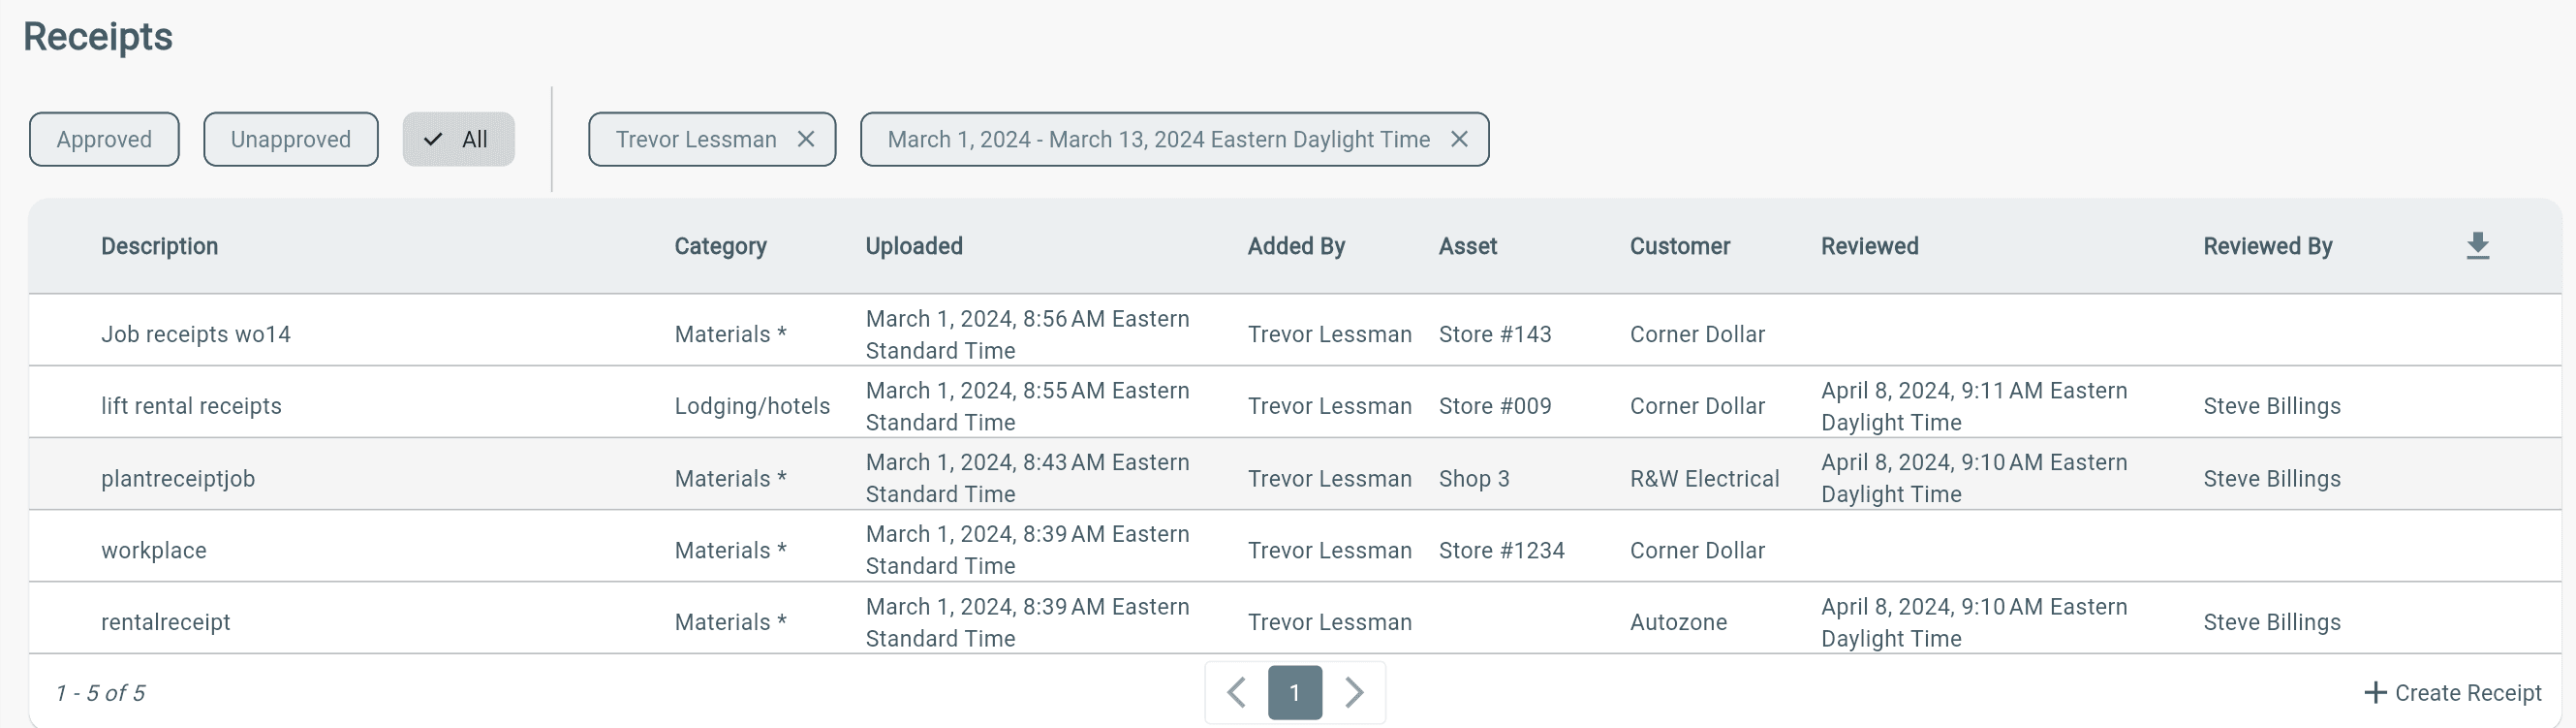
- Use the filters above the table.
- Select a status:
- Approved
- Unapproved
- All
- Use Uploaded User or Uploaded Date/Time Range filters to find specific receipts.
Export/Download Receipts
- Open Receipts from the Menu.
- Filter by User and Time Range if needed.
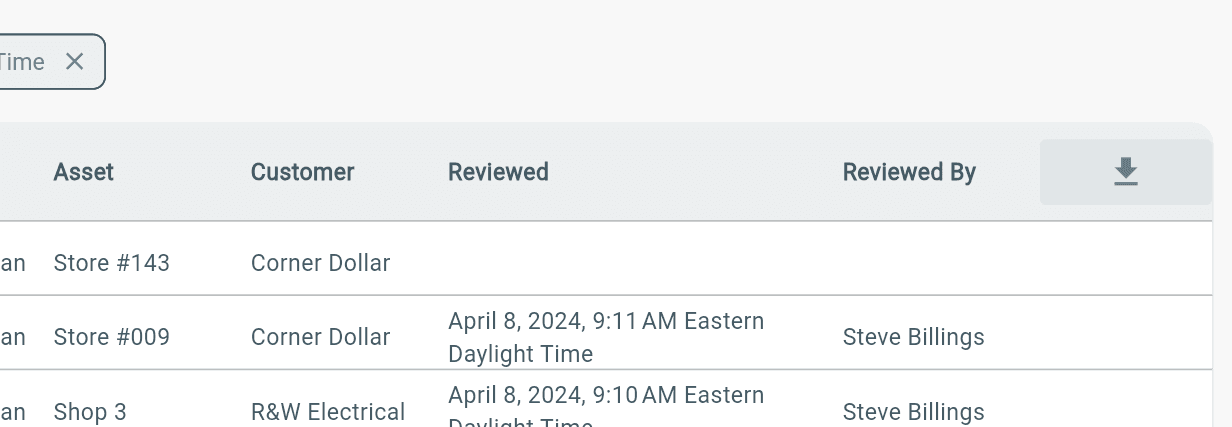
- Select the Download icon in the top-right corner of the receipts table.
- Choose PDF or XLSX.
Additional Information
Office Admin and Staff users will be able to view all receipts added by all users, as well as edit receipts for any user. Technician users will only be able to view their own receipts, and edit their own receipts.