Syncing Locations with QuickBooks
How to use & sync Locations from QuickBooks in Lexul
QuickBooks Online Locations
Turn On Locations in QuickBooks Online
1. Open Settings (⚙️ gear icon).
2. Go to Accounts & Settings → Advanced.
3. Under Categories, turn on Track Locations.
Add New Locations in QuickBooks Online
1. Open Settings (⚙️ gear icon).
2. Go to Lists → Locations.
3. Select New and create the location.
Locations will automatically sync to Lexul within 30 minutes.
Add a Location to a Work Order
1. Open or create a work order.
2. Go to the Admin tab.
3. Select the Location from the Location dropdown.
Use Locations in Lexul
Locations can be used to:
→ Filter work orders by location.
→ View the location on the work order preview.
→ View locations from the Table Dashboard.
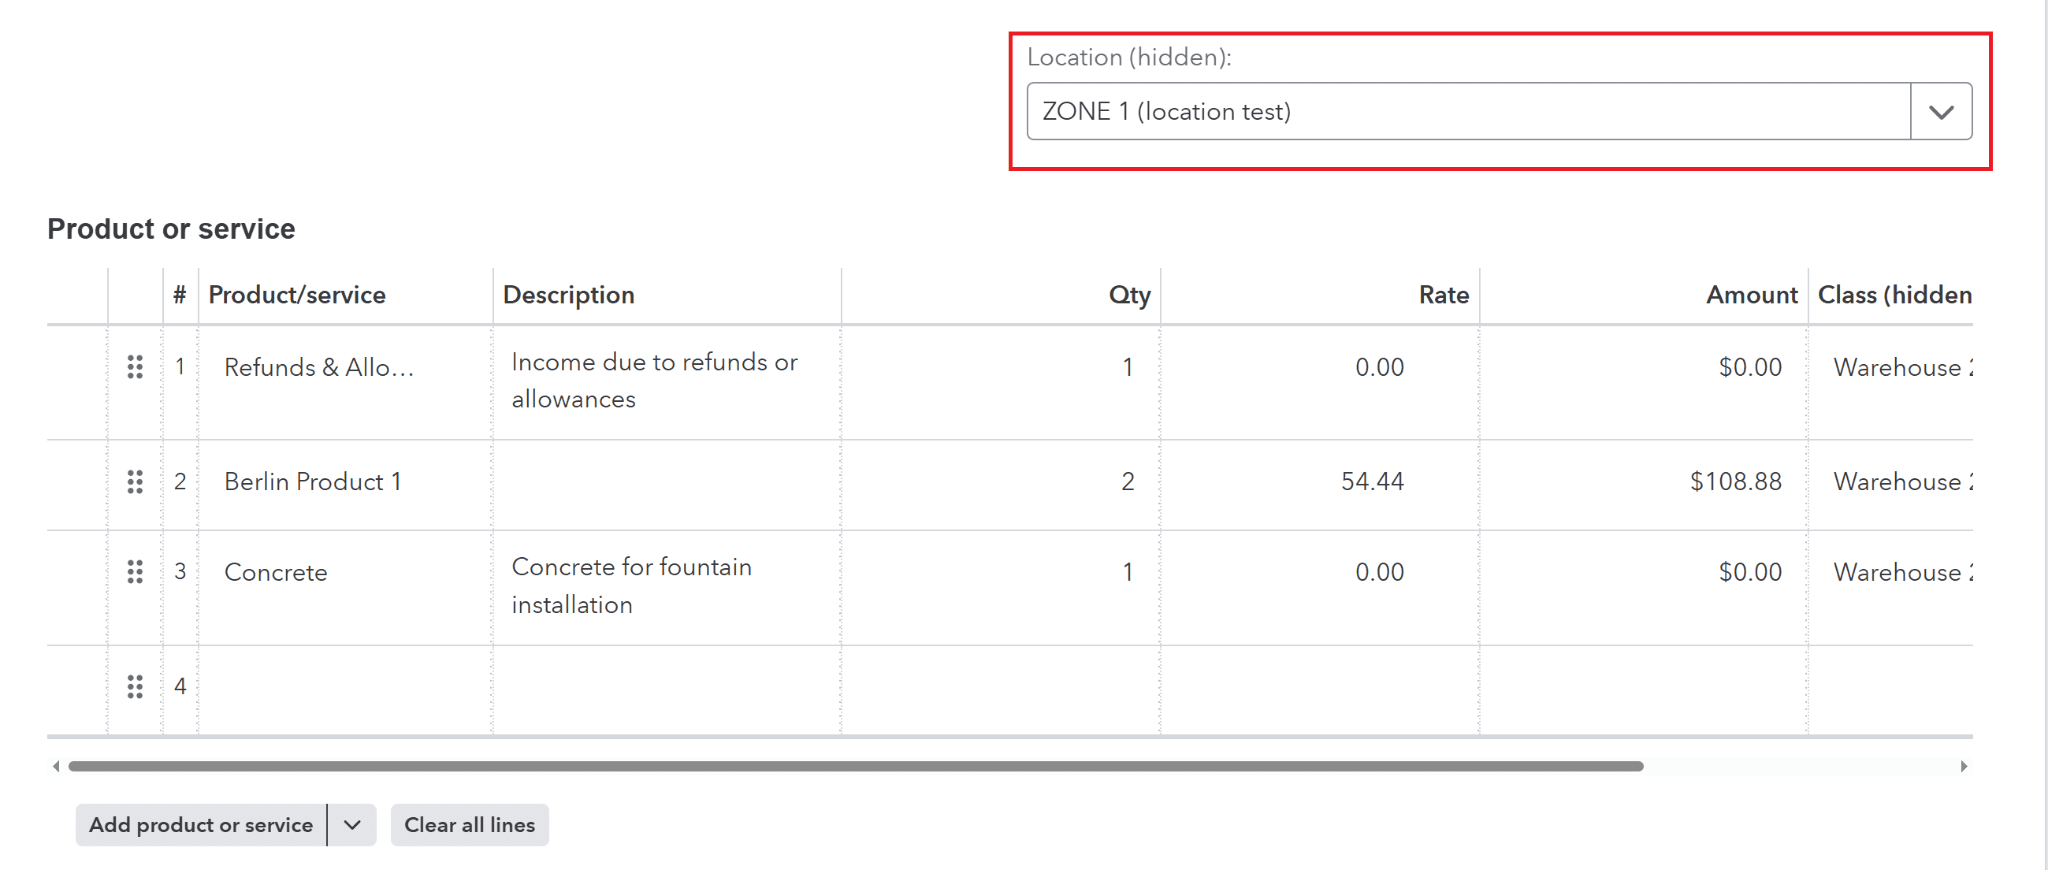
Sync Location to Invoice
After an invoice is created and synced:
→ The selected Location will appear on the invoice in QuickBooks Online.
Locations (Non-Integrated & QuickBooks Desktop Workspaces)
Add Locations Manually
For workspaces without a QuickBooks Online integration or using QuickBooks Desktop, Locations can be created directly in Lexul.
1. Go to Configuration from the menu.
2. Select Locations.
3. Select Add Location.
4. Enter the location details and save.
Additional Information
Locations in non-integrated and QuickBooks Desktop workspaces are used for future reporting and statistics.