Service Provider Walk-through
How to accept new offered work, begin working, and invoice the service company.
Overview
The Lexul Field Service Network makes it easy to manage shared work from start to finish.
As a service provider, you can:
→ Accept or reject offered work.
→ Create and dispatch work orders.
→ Assign technicians.
→ Complete service and invoice the customer — all within Lexul Field Service.
Accept or Reject Shared Work
To manage offered work:
1. Go to Service Network from the menu.
2. Review the available work offers in the table.
Note: Your office dispatcher will also receive an email notification when new work is offered to your company.
3. Select Accept or Reject the work offer.
4. If accepting the work, assign the work order details:
→ Select a Contract.
→ Select a Customer.
→ Select an Asset.
These selections connect the work order to your customer.
Note: If you have a QuickBooks integration, the available options will come from your synced QuickBooks data.
5. Select Submit to create the work order.
Find the Accepted Work Order
After creating the work order:
→ Select the Accepted filter tab above the Service Network table.
Or
→ Open the Dashboard.
→ Filter by the most recent work order.
→ The new work order will appear as the newest entry.
Assign Accepted Work to Technicians
To prepare the work order for service:
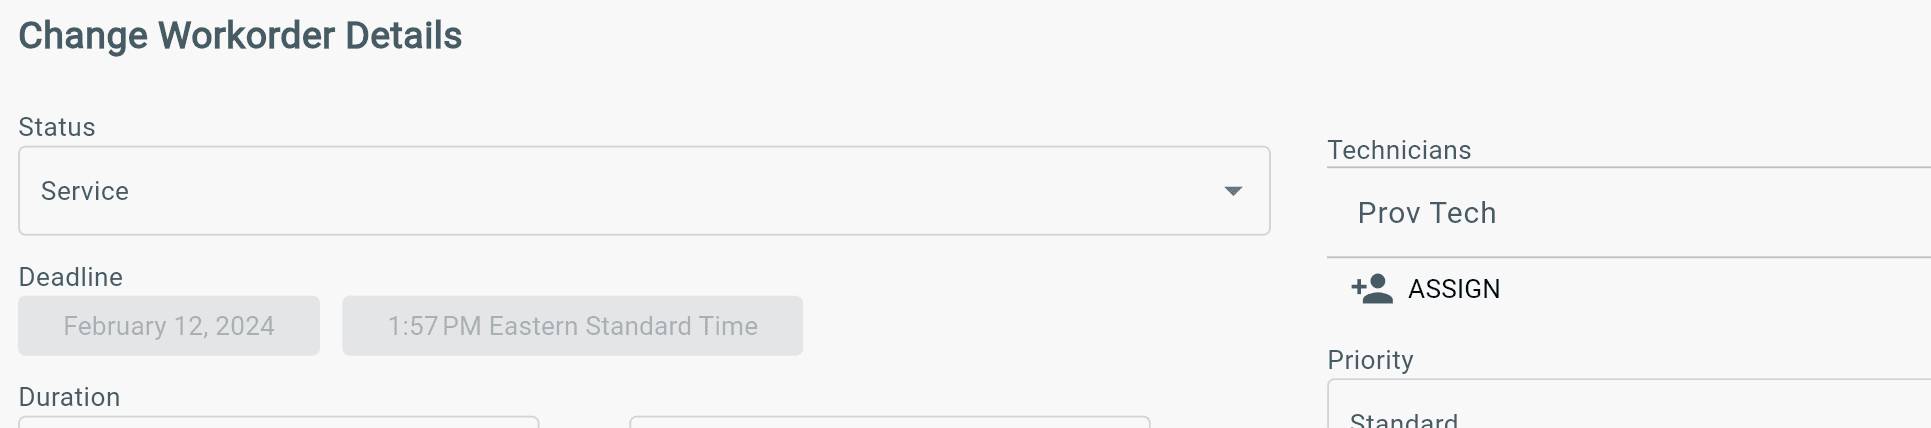
1. Open the work order Administration tab.
2. Find Technicians and select Assign.
3. Change the work order status to Service.
→ The work order will now appear on the assigned technician’s dashboard.
4. Schedule the technician’s service date and time.
5. Add any additional work order details if needed.
The work order is now ready for the technician to complete the service.
To see more about accepting see this article:
Accepting offered service work from a Service company as a Provider
Submit an Invoice
After completing the work:
1. Open the work order.
2. Go to the Invoice tab.
3. Select Create Invoice.
4. Review the invoice details and submit it to the service company.
The invoice will automatically pull:
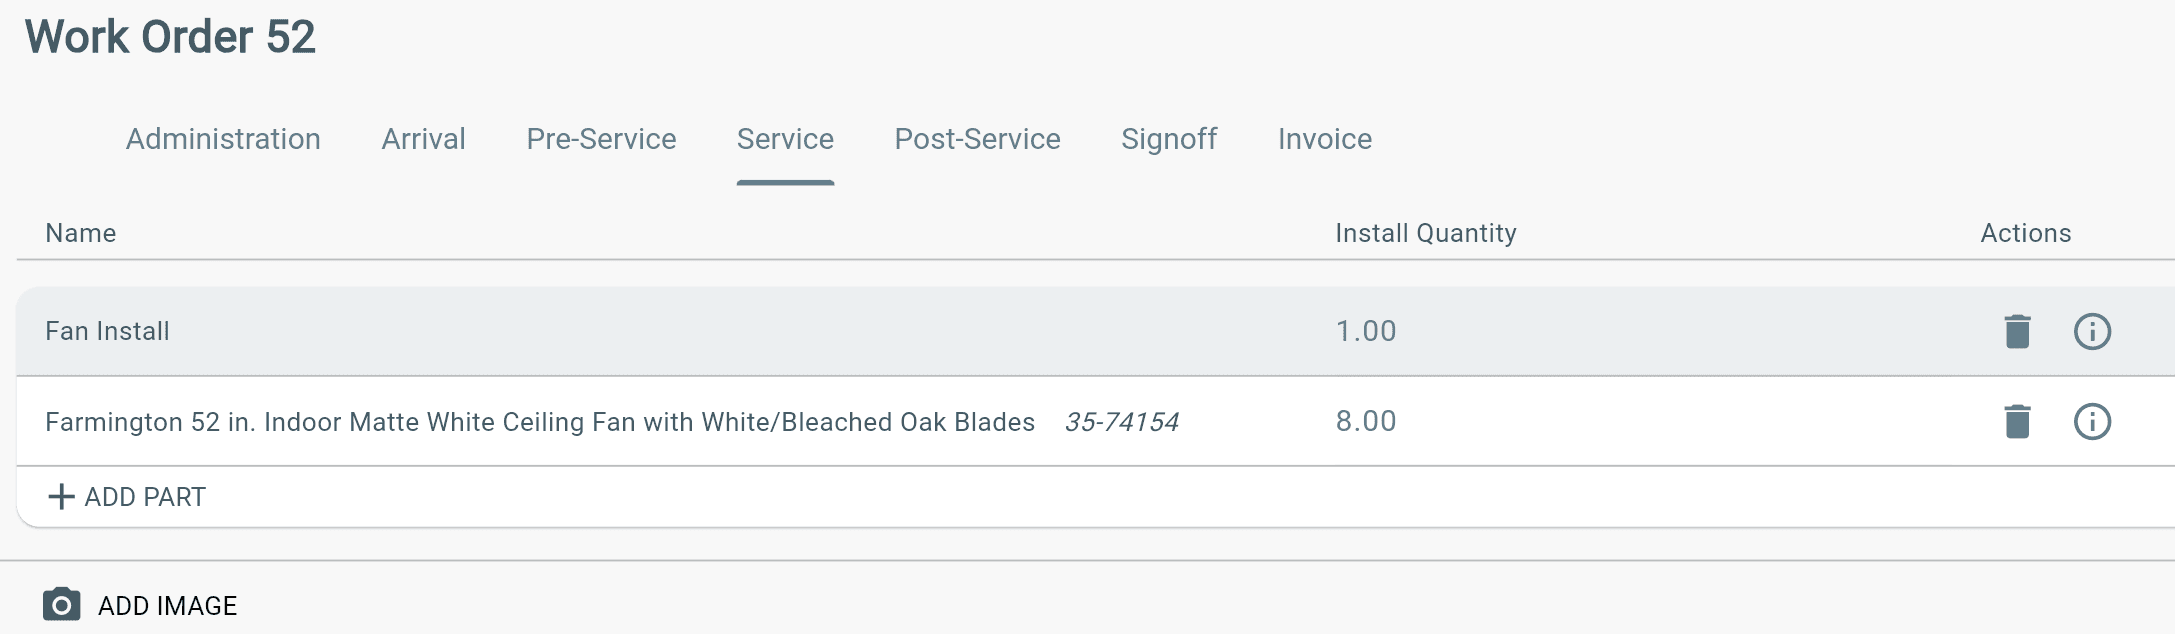
→ Services added in the Service tab.
→ Parts added in the Service tab.
→ Entered quantities for each item.
Note: Make sure all Services, Parts, and quantities are completed before creating the invoice.
QuickBooks Invoice Sync
If you have a QuickBooks integration, submitting the invoice will automatically send it to:
→ QuickBooks
→ The Service Company
Both systems will receive the invoice at the same time.
See How to Create and Submit an Invoice for more information.
Invoicing offered service work to a Service company as a Provider
Follow these steps to complete shared work from start to finish:
1. Receive Work Offer
→ Receive an email notification when new work is offered.
2. Accept or Reject Offer
→ Go to Service Network.
→ Review the offered work.
→ Select Accept or Reject.
3. Assign the Work Order
→ Select the correct Contract, Customer, and Asset.
→ Assign the work order to a technician.
4. Begin the Work Order
→ Technician receives the assigned work.
→ Complete the service using the work order workflow.
5. Complete the Work Order
→ Document services, parts, notes, images, and required inspections.
→ Collect customer sign-off.
6. Invoice the Work
→ Create and submit the invoice from the completed work order.
7. Service Company Review
→ The service company receives the invoice.
→ The invoice is either Accepted or Rejected.
View our Getting Started Articles:
Getting Started with Lexul Field Service | Office
Getting Started with Lexul Field Service | Technician
Additional Information
If the NTE field is exceeded, the invoice will not be sent to the Service company.
Review all work before submitting the invoice. This action cannot be undone.
The NTE (Not To Exceed) field is the dollar amount limit for the invoice on the work order.